How to Check Whether Image Convert Preserves Transparency
Contents
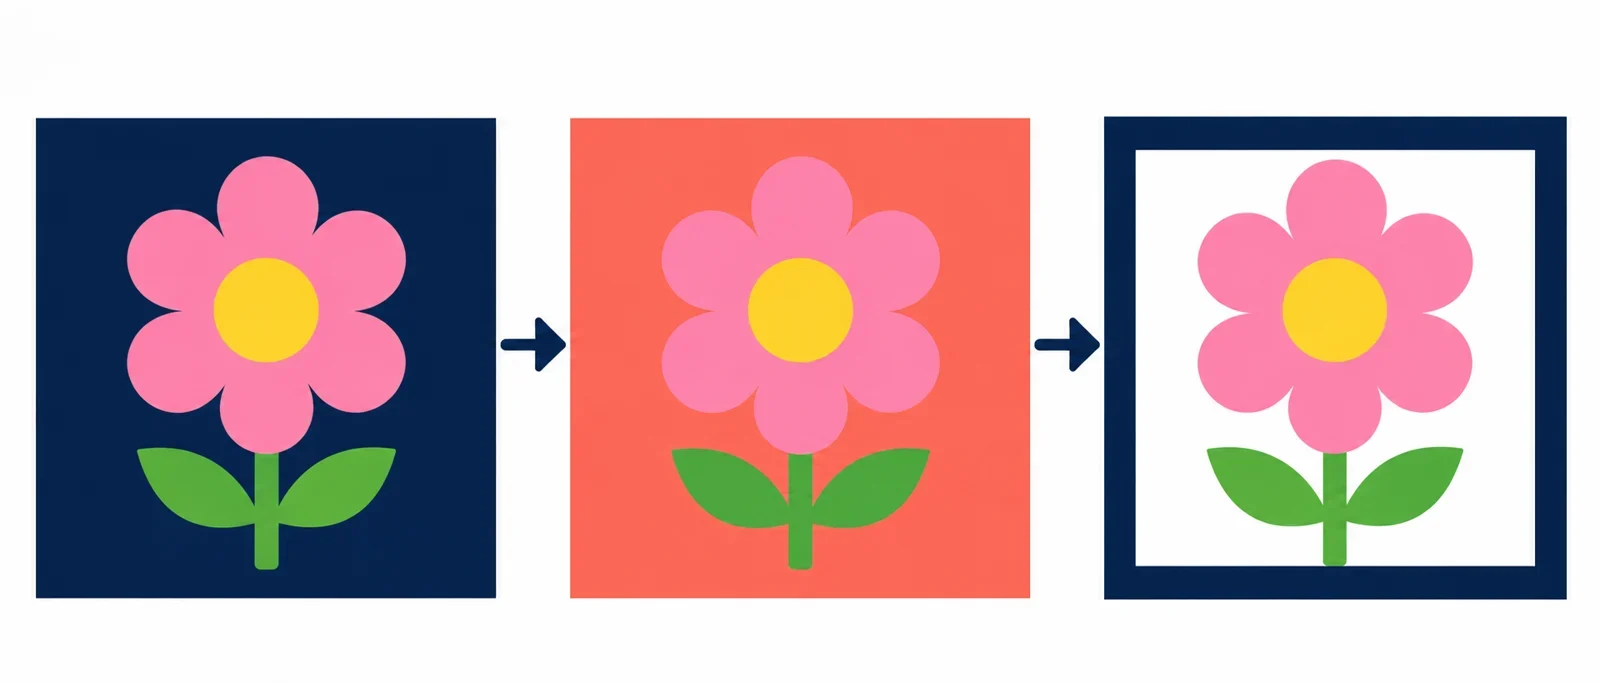
To check whether Image Convert preserved transparency, start with an image you already know has transparent areas and convert it to PNG. Open the downloaded result in an editor that shows a transparency checkerboard, or place it over contrasting colored backgrounds. If the background changes with the color underneath, the area is transparent; if it stays white or another solid color, inspect the file and your conversion choices more closely.
A quick preview is a useful starting point, but a white-looking background alone does not prove that transparency was lost. The steps below help you compare the original and the downloaded image, examine soft edges, and decide what to do if the result has an unwanted fill.
Start with an image that has transparent areas
Choose an original image whose transparent areas you can identify before conversion. For example, you might have a logo or illustration that is intended to sit over different background colors. Knowing which areas should show the background gives you something specific to check in the converted file.
Keep a copy of the original separate from the output. If the converted image turns out to have a solid background, you can return to that original for another attempt. This also makes it easier to compare the same areas in both files.
Check the original in context
Open the source in an image editor that can display transparency, if one is available to you. Look at the area around the subject and any gaps within it. An editor’s transparency checkerboard can help you see where the image is transparent. You can also place the image over a colored background and observe which areas reveal the color underneath.
Try a second, noticeably different background color. If the area around the subject changes with the background, that is the behavior you want to look for in the converted image too. If it stays white against both colors, it may be a solid white part of the source. Check that the background is actually behind the image and that you are viewing the intended file before drawing a conclusion.
A plain white preview can be misleading: the white may be the viewer’s display background rather than part of the image. Equally, a white area visible in a preview is not proof that it will disappear when placed on another color. Test it in an editor or over a contrasting background to distinguish the two.
Look beyond the largest empty area. Fine details, gaps inside a logo, and soft transitions around a subject may need to sit naturally over a new background as well. Make a note of a few such areas so you can inspect the same spots after conversion.
Choose an output format
When the image needs to sit over different colors, choose an output intended to retain transparency. PNG is the recommended choice when transparency is needed. After selecting it, still inspect the downloaded result: the format choice and the source image are both relevant to the outcome you see.
JPEG is a different choice. JPEG cannot retain an alpha channel, and Image Convert’s JPEG output flattens transparency onto white. If you need the background color behind a logo or illustration to remain visible, select PNG instead of JPEG. A JPEG can be suitable when a solid white background is the result you want.
| Output choice | What to consider |
|---|---|
| PNG | Recommended when transparency is needed; inspect the downloaded image to confirm the result. |
| JPEG | Image Convert flattens transparent areas onto white, so it is unsuitable when those areas must remain transparent. |
| WebP | ImagePixo describes its WebP output as keeping transparency. If considering WebP in another converter, check the available output and inspect the result. |
The distinction matters most when you reuse an image in more than one setting. A logo with a white fill might look fine on a white background but show a visible white rectangle on a dark or colored one. A transparent result can instead reveal the background placed beneath it.
Before converting, consider the intended use as well as the source. If someone else will receive the file, ask which output they can use and whether the background needs to remain transparent. If the requirements are unclear, PNG gives you a practical starting choice for a transparency check. Keep the original even when you also need a JPEG: it gives you a source to return to if you later need a version without the white fill.
Convert and inspect the downloaded image
Use the original you checked as the input, select PNG as the output when transparency is required, and convert the image. Download the result, then open that downloaded file for inspection. Pay attention to the file you open: comparing the original with itself will not tell you what happened during conversion.
Inspect the background
If your editor shows a transparency checkerboard, open the downloaded image there and examine the areas that were transparent in the original. Compare the outside of the subject and any interior gaps with the same areas in the source. The checkerboard is a visual aid for the inspection; focus on whether the intended parts of the image reveal it.
You can also place the downloaded image over a colored background. Choose a color that contrasts with the subject and with any suspected white fill. A white patch around the image is easier to notice against a darker or more saturated color than against white. Then try a second color. Areas that reveal both backgrounds are behaving differently from an area that remains the same solid white in both views.
For a useful comparison, put the original over the same backgrounds and look at the same parts of each image. If the original reveals the color beneath a gap but the converted copy shows white there, check the source and output choices before using the copy.
Look closely at edges and details
Inspect the outline at a comfortable enlargement, especially around curves, text, hairlike details, or other fine parts of your image. Look for unwanted white fringes or patches that become more noticeable against a contrasting background. Check both light and dark backgrounds where possible; a problem that blends into one may stand out on the other.
Also compare soft edges and partially transparent details with the original. A shadow or gradual transition may need a closer look than a large empty area because its appearance can change with the background underneath. Ask whether the converted version blends into each background in the way you expect from the source. If you notice a difference, keep both files available and repeat the inspection before deciding which one to use.
Finally, open the downloaded result in the place where you intend to use it, if practical. Check it at the size and against the background you have in mind. This last look complements the editor check and helps you catch an obvious fill or edge that would distract from the finished image.
Troubleshoot an unexpected solid background
A solid-looking background calls for a few checks before you convert again. Start with the original, then review the chosen format and the downloaded copy. Working through them in that order helps you identify whether the unexpected color was already present or appeared in the result you are inspecting.
- Recheck the source. Open the original in an editor with a transparency checkerboard or place it over contrasting backgrounds. If the area stays solid in the original, choose a source with the transparent areas you need, or prepare the source before converting.
- Review the output choice. If you selected JPEG, the white background is consistent with Image Convert flattening transparency onto white. Choose PNG when you need the transparent areas to remain.
- Check the downloaded file. Make sure you opened the result of the conversion you meant to inspect. Look at its background in an editor or over contrasting colors; a white viewer background by itself is not enough to establish that the image was flattened.
- Convert again from the original. Select the original source and the appropriate output, download the new result, and repeat the background and edge checks. Compare the same areas in the original and the new copy.
If the large background looks correct but a fringe remains around the subject, compare that edge with the original on both a light and a dark background. The source may already have the appearance you are seeing, or the downloaded version may look different. That comparison gives you a clearer next step than judging the image against white alone.
If a new PNG still does not look right, check the converter’s available guidance and the image editor’s instructions for displaying transparency. You can also ask whoever supplied the image for a source that has the required transparent areas. Describe the specific problem, such as a white fill inside a logo or a fringe around a soft edge, so they know what to check.
Keep the original after you finish. Restoring transparency after it has been lost can be tedious, while an intact source gives you a way to make another conversion if your needs change or a downloaded copy is unsuitable.