How to Reduce Photo File Size While Keeping Detail for Sharing
In this guide
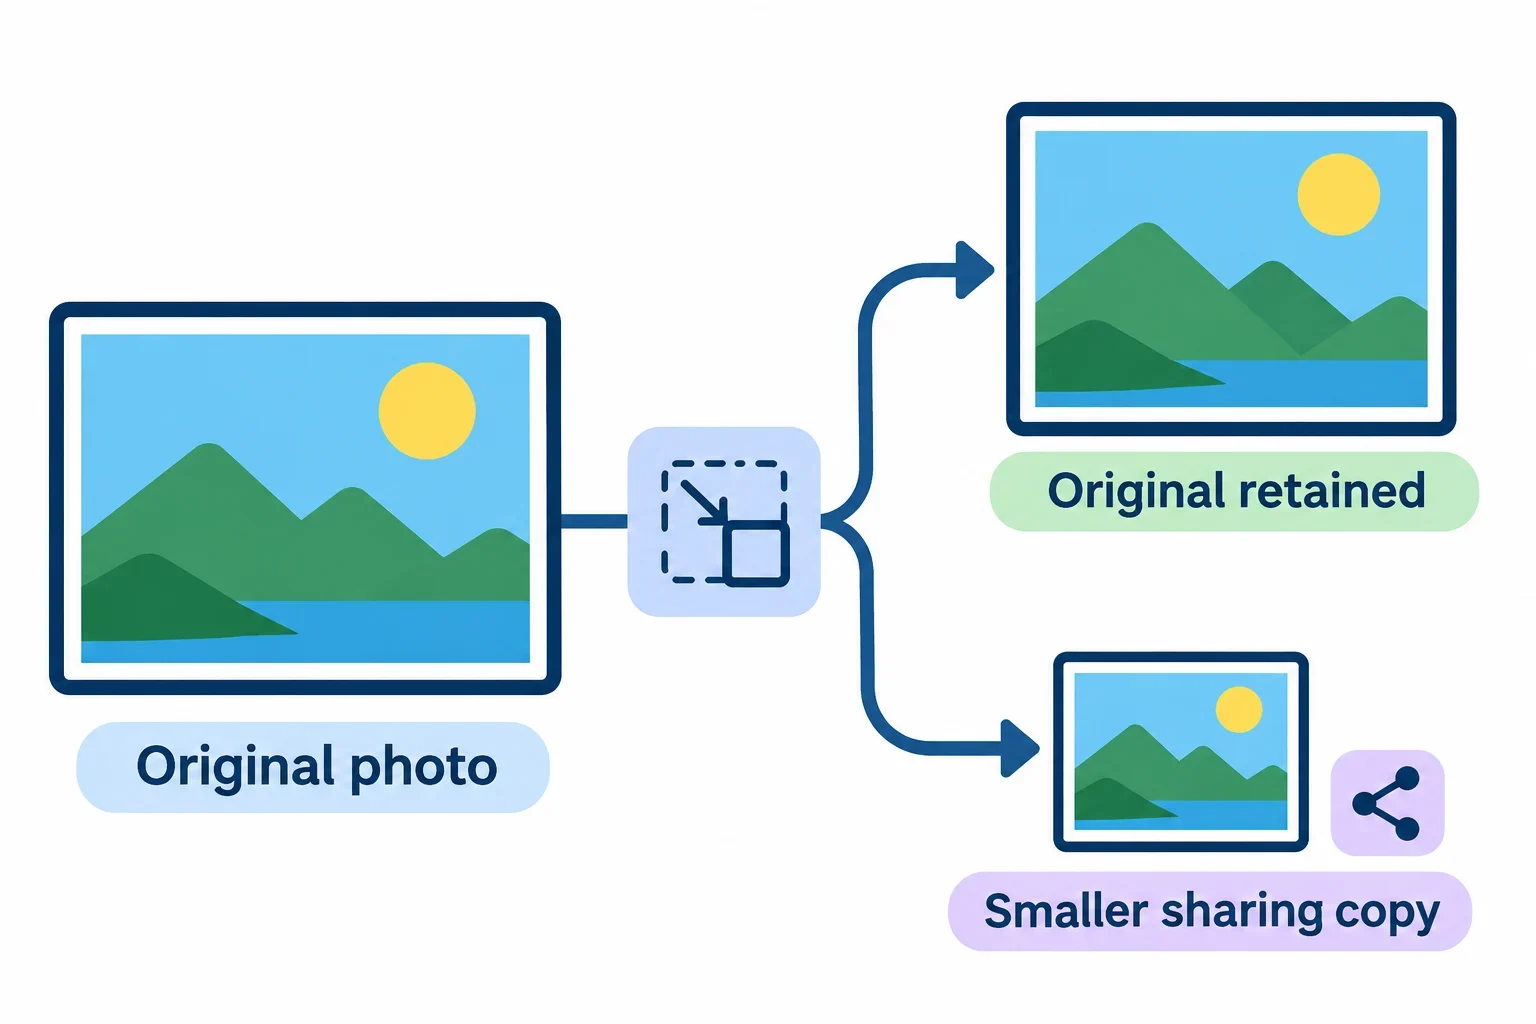
The best way to make a photo easier to share is to work from the original, create a separate copy, and check both the file size and the details that matter to the recipient. A different format may help, but a conversion does not guarantee a smaller file or an acceptable result.
Start by finding out what your recipient or sharing service accepts. Then try a conversion, compare the files at a useful viewing size, and choose the version that meets the limit while preserving what the recipient needs to see. If the first copy falls short, adjust your approach and check again.
Start with the sharing goal and the original
Before changing anything, decide how the photo will be used. A picture sent for a quick visual update may have different needs from one containing small labels or details someone must inspect closely. Ask the recipient what they need to see if that is not already clear.
Check the sharing service’s current file requirements, or ask the recipient which formats and file sizes they can accept. Also check whether there is a limit for a single image or for everything you plan to send together. If the requirements are unclear, keep them in mind as questions to resolve before choosing a final copy.
Find the original image and keep it available. Use a separate name or location for any sharing copy so you can tell the versions apart and return to the original if the result is unsuitable. For example, you might add “sharing” to the copy’s name while leaving the original name unchanged.
Look at the original before you start and identify a few areas that matter. These might include a small piece of text, a fine edge, a face, or a subtle color transition. Make a note of whether any transparent areas need to remain transparent. These reference points will make it easier to judge the converted copy later.
Finally, consider privacy as well as appearance. Photo export tools can insert metadata such as GPS information into images. If location information would be sensitive, check the file’s metadata and the options available in your export tool before sharing.
Try a conversion
Open Image Convert and check the available controls. Select the original image, then look for an output format accepted by your recipient or sharing service. Follow the tool’s displayed steps to create and download a separate copy. Check the controls shown in the tool before relying on a particular setting or output option.
The format choice depends on the job. If your main goal is a smaller candidate, try an accepted format and compare the downloaded result with the original. Do not assume that a new format will automatically save space: the actual result depends on the image and the conversion.
If the image needs transparency, check whether the proposed output format and the tool’s conversion preserve it. Choose a suitable option only after verifying that requirement, and inspect the downloaded copy for the intended transparent areas. If you cannot confirm transparency, avoid treating that copy as ready to send.
Make the first attempt easy to evaluate
Keep the original and the new copy identifiable. Record the output format and any settings you changed, especially if you intend to make another version. A simple name such as “photo-sharing-1” can help you avoid confusing candidates.
If the tool offers a quality setting for JPEG or WebP, it can provide a way to balance file size against image quality. Its effect varies by image, so treat any setting as a starting point rather than a guarantee. Check whether the control is available and what it changes before using it.
Create one candidate, then examine it before trying several more. A single comparison will show whether the conversion moved you closer to your goal and which details need particular attention.
Compare size and visible detail
Find the original and downloaded copy in your device’s file browser and open the information or properties view for each. Compare their actual file sizes using the same units where possible. A copy with a different extension is not necessarily smaller; if it takes up more space, the conversion has not solved the size problem by itself.
Compare each file with the recipient’s limit as well as with the other file. A reduction is useful only if the result is small enough for the intended method, or if it helps you decide what to try next. If you need to send several images together, check the combined requirement too.
Inspect the same details
Open the original and the candidate and view the same areas at a comparable size. Begin at the size the recipient is likely to use, then look more closely at any details that must remain readable. Switching between the two views can make differences easier to notice.
Use your reference points from the original to check for:
- Softness: Are fine lines or small features less distinct in the copy?
- Artifacts: Are there distracting marks or changes around edges and detailed areas?
- Color: Do important colors or gradual transitions look different enough to matter?
- Transparency: If required, do the intended areas remain transparent in a viewer that can show this?
- Legibility: Can you still read the small text or identify the feature the recipient needs?
Judge the result against its purpose. A small change in an unimportant background may be acceptable, while an unclear label or edge may defeat the reason for sending the image. If the recipient needs to examine a particular area, check that area carefully rather than relying on an overall glance.
Keep a brief record of the candidate’s size and any visible problem. That gives you a useful comparison if you make another copy and helps you avoid repeatedly choosing a version that fails the same check.
Choose and share the result
Choose the candidate that meets the sharing method’s requirements and keeps the necessary details clear. The smallest file is not automatically the most useful: a slightly larger copy may be the better choice if it stays within the limit and makes important text or features easier to see.
If your converted copy is larger than the original or offers no useful improvement, keep the original as your reference and consider sending it if it meets the recipient’s requirements. Otherwise, use the next section to explore another adjustment. There is no need to discard a good original just because you tried a conversion.
Before sending, confirm that you have selected the intended file. Check its name, format, size, and any privacy details that matter to you. If transparency is essential, include that in your final visual check.
Some sharing methods may alter an image after upload, so check how your chosen service handles it. Where possible, review the shared result or ask the recipient to confirm that they can open it and inspect the important details. If the uploaded version is unsuitable, check whether the service offers another way to send the file or agree on a different method with the recipient.
Keep the original after sharing. You may need it for a different recipient, a different size limit, or another copy with more visible detail.
What to do when conversion is not enough
If the copy is still too large, or if the size saving makes important details hard to see, change one thing at a time and repeat the comparison. Start from the original for each new candidate so you have a consistent reference. Check which controls your chosen tool actually offers before planning around them.
Explore a quality setting
If a suitable tool offers a quality control for JPEG or WebP, try another setting and save a separately named candidate. Compare its actual size and appearance with both the original and your first attempt. Because the effect varies by image, use the result you can see and measure to decide whether the trade-off works for your purpose.
Consider the image itself
If a tool offers resizing, consider whether a smaller image would still show everything the recipient needs at the intended viewing size. If a crop would remove irrelevant surroundings without removing useful context, consider making a separate cropped copy. In either case, inspect small text, edges, and other important areas again; an image that looks fine as a whole may no longer show a critical detail clearly.
For a PNG, reducing the number of colors can improve compression, but it introduces a lossy step. If your tool offers that option, make a separate candidate and check colors and important details before deciding whether the result is acceptable. Do not assume that this step will suit every image.
Revisit the sharing method
If every acceptable-looking copy is still too large, ask the recipient about another accepted format or another way to receive the image. Check the requirements and any available options for that method before using it.
You can also agree on what matters most: the entire image, a particular detail, or both. That conversation may help you decide whether a smaller overall view and a separate detail are useful. Preserve the original so you can prepare the right copy once the recipient’s needs are clear.