How to Record an Auto-Parts Shipment with a Photo Contact Sheet
On this page
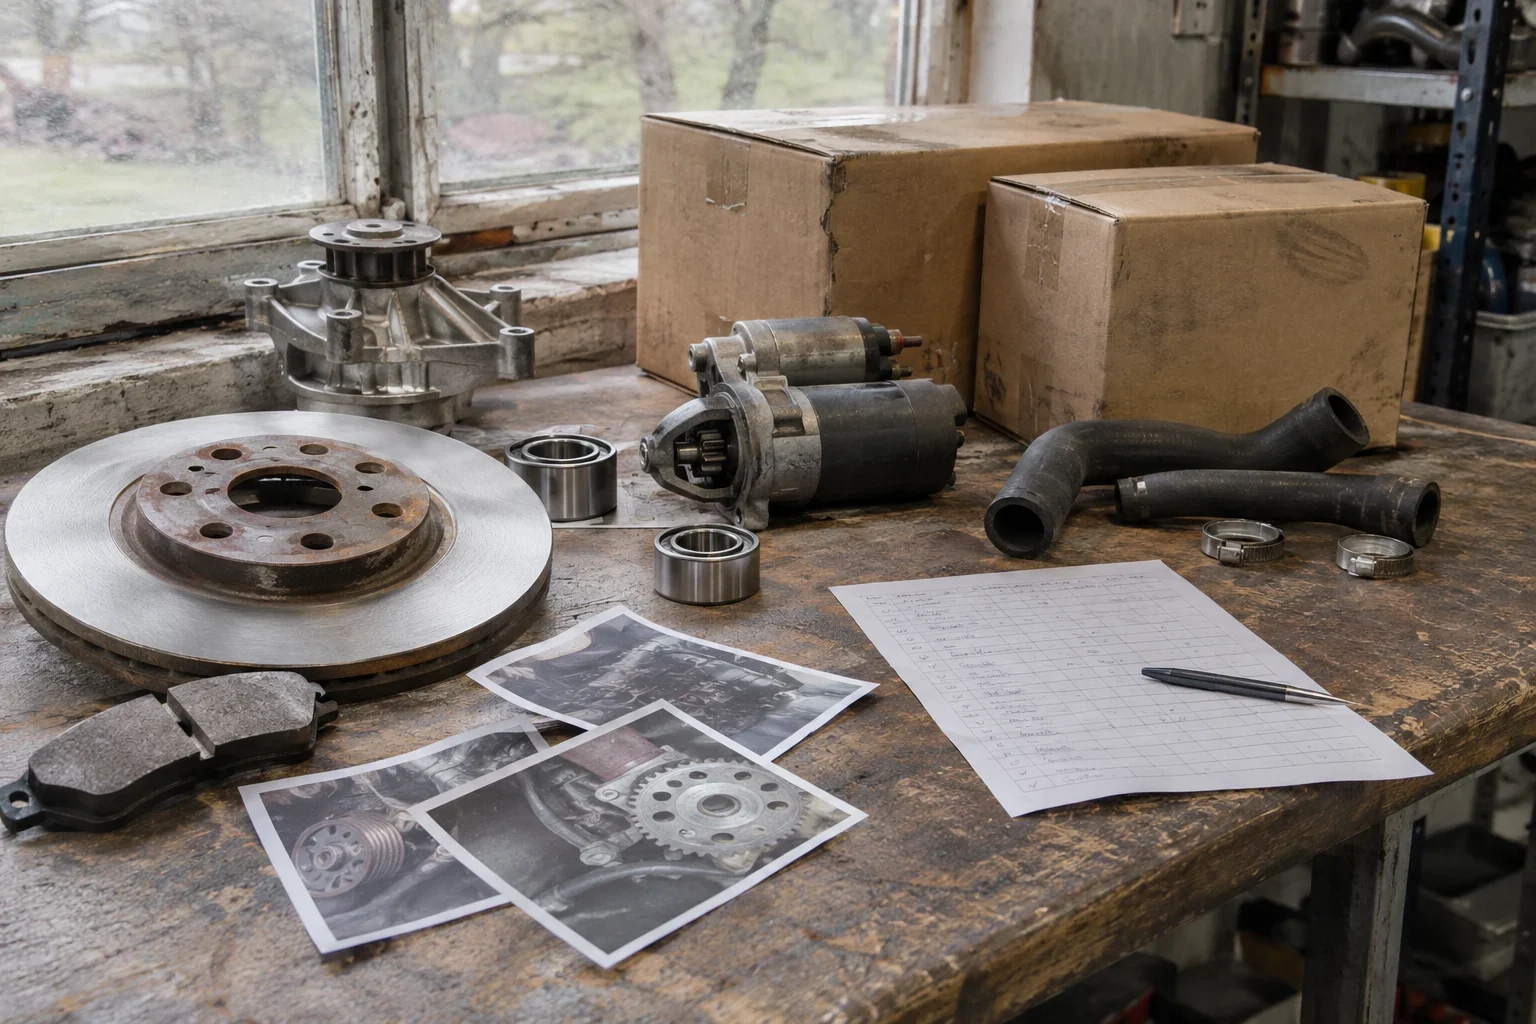
To record an auto-parts shipment, photograph the packages, identifying labels, individual parts and visible concerns, then connect each image to an inventory entry. Arrange the selected photographs into a contact sheet for review, while keeping the originals available for close inspection.
Start with the shipment documents and a consistent set of references. Work through packaging, parts and accessories in a deliberate sequence, within the unpacking permission you have. The finished record should let another reviewer find an item, understand what you observed and locate the photograph needed to examine it.
Prepare an inventory before photographing
Create an inventory before photographing so the image sequence follows a clear checklist. Start with the packing-list entries and compare expected accessories with the accepted offer. Give each item a working reference, including items that appear similar.
Use fields such as these:
| Field | What to record |
|---|---|
| Shipment | Reference used on the shipment documents |
| Package | Outer package reference |
| Item | Packing-list line and visible part marking |
| Accessories | Expected items and whether each was found |
| Images | Matching photograph references |
| Observations | Visible condition and unresolved questions |
Leave an identifier unresolved if you cannot read or confirm it; do not choose a likely match. During unpacking, complete the relationship between the package, item marking and packing-list line.
If an expected accessory is absent, record that against the accepted offer in a separate entry. State what was checked and what remains uncertain. This gives the reviewer a specific discrepancy to investigate without treating an absent accessory as physical damage.
Record packaging and readable identifiers
Begin with the outer package condition, observing it from a safe position. Choose permitted views that show the package as a whole and separate views in which its identifying labels can be read. If a label cannot be photographed safely, note that limitation and seek an authorized way to record it.
For each package, capture enough context to distinguish it from the others. Before opening, note any visible concern in plain language and connect the photograph to the package reference.
During authorized unpacking, record the connection between the outer package reference, the unit marking and the packing-list line. Photograph those identifiers in a sequence you can explain in the inventory. If an identifier and the whole item need separate images, keep both linked to the same entry.
When items from several packages are being checked, finish recording each package-to-item relationship before mixing the groups. If a relationship is already unclear, leave it as an open question for the responsible reviewer.
Pair overall views with damage details
For each part, take an overall view and separate close-ups of any visible marks or suspected damage. Pair each detail with a wider image showing where it belongs. Review the pair before proceeding: could someone unfamiliar with the shipment locate the detail on the part?
Describe what is visible without assigning a cause. For example, a note might say that a mark appears beside the identifying label, with references to the overall and detail photographs. If you cannot determine what a feature represents, record the uncertainty and request an appropriate assessment.
Where dispatch photographs are available, compare corresponding views and note visible differences. That comparison does not, by itself, prove what caused damage.
Keep condition observations separate from operational conclusions. A visually intact crate does not establish that a used engine functions. Record any unresolved operating-status question separately and follow the applicable inspection instructions. Likewise, give missing accessories their own entries, rather than combining them with a general damage note.
Connect filenames to inventory entries
Choose a manual naming convention that includes the shipment reference, package reference, item reference, view description and sequence number. Keep that order consistent across the record. Use view descriptions that distinguish an overall photograph, an identifier photograph and a detail photograph.
Record each exact filename in the relevant inventory row. An item with several views should have all of them listed, so a reviewer does not have to guess which close-up belongs to which overall image. If one photograph covers several items, record that shared relationship explicitly.
Keep the naming convention separate from observations: an image name should help locate the photograph, while the inventory explains what needs attention.
If you create a cropped, annotated, redacted or compressed sharing copy, link it back to the retained original. Record which version appears on the sheet. Avoid giving an edited copy a name that could be mistaken for the original, and update the inventory whenever you rename an image.
Choose and prepare a manageable image batch
Check the contact-sheet tool’s accepted image formats and any current limits on image count or file size before choosing a batch. Select the photographs needed to identify the package and item, show the overall condition and document specific concerns. Remove accidental duplicates from the selection without discarding originals.
For a larger shipment, divide the photographs by package or by a clearly identified group of inventory items. Give every batch a reference in the inventory and record its planned image count. Keep related overall and detail views together where practical.
Consider conversion when the chosen tool or recipient needs a different format. Check that the conversion option accepts your original format and offers the required output before using it.
Retain the originals and compare each resulting copy with its original. Check label readability, the visibility of small marks and the actual file size. Use the converted copy only if it serves the intended review; do not assume conversion will improve readability or reduce size.
Generate the contact sheet
Open the contact-sheet tool and prepare the selected batch using the controls it provides. Check the selection against your inventory before generating anything. If ordering controls are available, arrange the photographs in package and item sequence, with overall views beside their related details where possible.
If the interface provides column-count and thumbnail-size settings, choose an initial layout and judge it against the work you need to do. Compare a compact overview with a layout that gives individual images more space. Use the result to decide whether to adjust the settings or divide the batch.
Check the output format before generating the sheet. If PNG is offered and suits your intended use, select it; otherwise check that the available output can be saved and reviewed.
After generating the sheet, inspect its actual reading order. Do not assume that selection order or image names determined the arrangement. If the order cannot be changed, record the displayed sequence in the inventory so the sheet remains traceable. Save a revised version if you change the batch or layout.
Check thumbnails against the inventory
Review the sheet beside the inventory, checking every selected image rather than only the first and last. Confirm that each intended package and item is represented, that related views can be located and that no accidental duplicate has displaced a needed photograph.
For each thumbnail, ask:
- Can I identify the package or item it belongs to?
- Can I locate its original from the inventory?
- Does it need a related overall or detail view?
- Is a label, small mark or accessory detail too unclear to assess here?
Open the original whenever the sheet does not show enough detail. If the original is also unclear, record the limitation and, if permitted, take a better photograph.
If the sheet displays filenames, check that they are readable and match the inventory. If it does not, record each image’s position and corresponding inventory entry. Use the sheet to navigate the record and the original photographs to examine details the thumbnails cannot resolve.
Save the sheet, originals and observation notes
Keep the saved sheet, inventory, original photographs and any sharing copies together in an organized shipment record. Include the batch references and observation notes, so a later reviewer can reconstruct the relationships without repeating the unpacking process.
Separate confirmed observations from unresolved questions. An observation could describe a visible mark and identify its photographs. A question could ask whether an expected accessory was packed separately or whether a part requires further assessment. Record the person or organization responsible for resolving each question, if known.
Before reporting a discrepancy, check the applicable shipment instructions for the reporting method, required supporting information and any deadlines. Follow those instructions for retaining goods or packaging; do not infer that creating a contact sheet completes the reporting process.
Finish with a handover check: can the recipient locate the affected inventory entry, open the relevant originals and see what decision is needed next? If any link is missing, repair it while the shipment details are still available.