How to Track Vehicle Dismantling Photos with a Contact Sheet
Contents
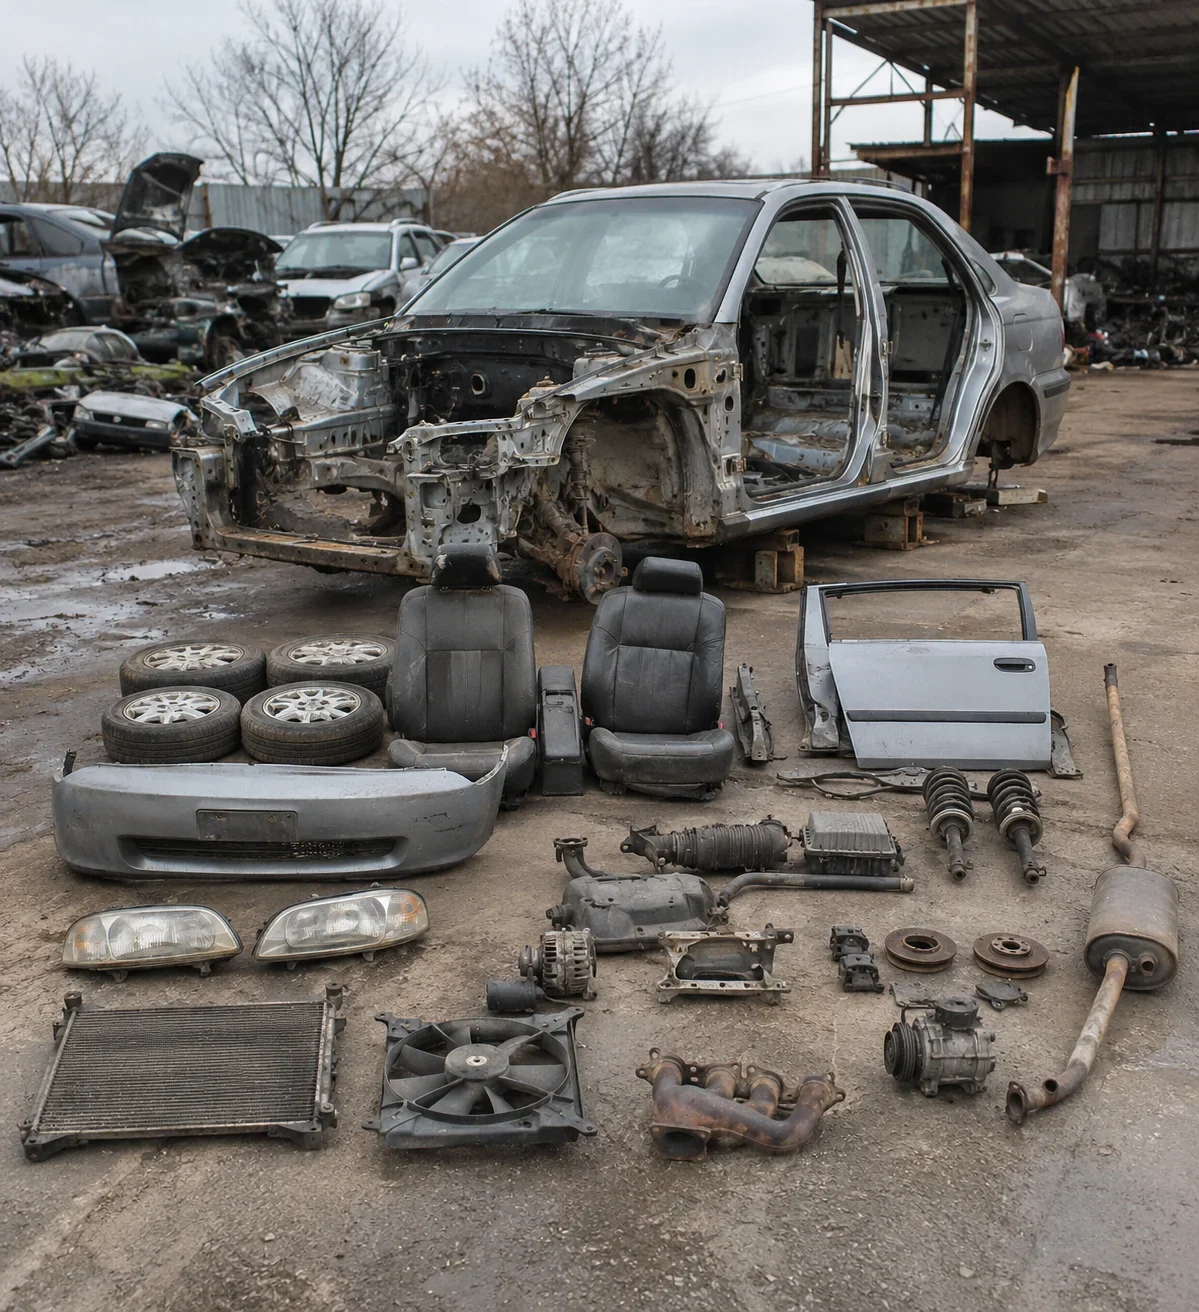
A contact sheet turns a collection of dismantling photos into a visual index: small images arranged together so you can scan the work and find the original view you need. Start by photographing each area in context, group related images, and make a sheet for each manageable group. Then keep a key that connects every thumbnail position to its original photo.
The sheet is a guide to the collection, not a substitute for the full-size images. Use it to follow the sequence, compare views and identify the photo to open when a connection or component needs a closer look.
Photograph the work in context
Before dismantling an area, take an overall view that shows where the components sit in relation to their surroundings. Follow it with closer views of the items and connection points you expect to disconnect or disassemble. Take photos from different angles when one view leaves part of the arrangement hidden.
Think of each set as a visual answer to two questions: where does this belong, and how was it connected? An overall view can help you locate the area later; a close-up can direct your attention to a connection. Neither view needs to stand alone if the pair is kept together in the index.
Capture a sequence
Photograph the same area before a change, during the work when a newly exposed detail matters, and after the relevant part has been removed. If several connections look similar, include enough of the surrounding area in at least one view to help distinguish them. Where a close-up excludes that context, record a short note linking it to the wider view.
Use brief notes to describe the stage, area and point of interest. For example, a note might say that one view shows an electrical connection before it is disconnected, while the next shows the same area afterward. Keep descriptions specific to what you can see; do not rely on a thumbnail to convey every small detail.
Before moving on, check the images at a useful viewing size. If a relevant connection is obscured, consider another angle or a closer photo while the view is still available. Make any photographs without putting yourself or the vehicle in an unsafe position.
Group and identify the originals
Choose a grouping method before the collection becomes difficult to browse. Grouping by dismantling stage suits a project where the order of changes is the main question. Grouping by vehicle area suits a search for everything recorded around one part of the vehicle. You can use one as the main structure and record the other in the key.
| Main grouping | Useful when | Add to the key |
|---|---|---|
| Stage | You want to follow work in sequence | The vehicle area shown in each view |
| Vehicle area | You want related views together | The stage or order of each view |
For a larger project, divide a broad area into smaller sets or give successive stages separate sheets. Avoid putting unrelated views together merely to fill a grid. A smaller, coherent set is easier to review than a crowded sheet whose sequence needs explaining each time.
Give each image a stable identity
Designate a storage folder for the originals and give each photo a recognizable name. Use a consistent scheme that identifies the project, stage or area, and a distinct image number. Record a short description alongside the identifier when the name alone cannot distinguish an overall view from a close-up.
For example, a key could use the identifiers A01, A02 and A03 for three images of one area: an overall view, a connection close-up and a view after removal. These are example identifiers, so choose a convention that fits your own project and keep it consistent. If you rename or move an original, update its entry in the key at the same time.
Keep the originals in their designated location as you prepare the sheet. That gives each index entry a clear destination and reduces the chance of confusing similar views from different stages.
Build a contact sheet
Select one coherent group of originals, such as the views from a single stage or one vehicle area. Arrange them in the order you want to review them. For a sequence, place the before view first, followed by detail and later views. For an area-based group, place the wider view near the close-ups it explains.
Use a contact-sheet workflow available to you to assemble the selected images into a grid. The input is the chosen set of photos; the intended output is a single sheet containing smaller versions of those photos. Check the options offered by your chosen method before relying on features such as automatic labels, a particular ordering control or a specific export format.
Choose a readable grid
Start with a modest number of columns and inspect the result. More columns put more images on a sheet, but they leave less space for each thumbnail at a given sheet size. Fewer columns make each image easier to inspect, while potentially requiring more sheets for the same group. Choose the balance according to the details you need to compare and the screen or print size you plan to use.
If two connections can be distinguished only at a larger size, enlarge the thumbnails or give those views their own sheet. If the purpose is simply to find the right overall view, a smaller thumbnail may be sufficient. In either case, the original remains the place to inspect detail.
Divide a large sequence at a meaningful boundary, such as a change of area or stage. Assign each sheet a distinct identifier and retain the order between sheets. Review the transition between them so the last image on one sheet and the first image on the next make sense together.
Label and review the result
Create a separate key for the sheet. At minimum, record the sheet identifier, each thumbnail’s position, the stage or area, and the identifier or location of the original photo. Add a short description when it helps distinguish similar images. Use the same position convention throughout: for example, count rows from top to bottom and positions within each row from left to right.
A key for a three-image example might look like this:
| Sheet | Position | Stage or area | Original identifier | Description |
|---|---|---|---|---|
| S1 | Row 1, position 1 | Area A, before | A01 | Overall view |
| S1 | Row 1, position 2 | Area A, before | A02 | Connection close-up |
| S1 | Row 1, position 3 | Area A, after | A03 | View after removal |
Adapt the entries to your project, and include enough location information to find each original in its designated folder. If you create another sheet for the same area, give it a different sheet identifier. A thumbnail position alone is not unique across multiple sheets.
Check the sheet against the originals
Scan the grid as if you were returning to the project later. Can you tell which images belong together? Does the order reflect the sequence you intended? Are the wider views close enough to their details to make the relationship clear? Adjust the grouping or order if the answer is unclear.
Then use several key entries to find and open their originals. Check that each position points to the intended image, especially where views look similar. If you rearrange or replace thumbnails, revise the key and repeat the check for the affected positions. Confirm that descriptions are legible at the size at which you expect to read them.
Keep the index useful for reassembly
Store the contact sheets and their keys together with the organized originals, using a structure that makes the relationship clear. Keep the original identifiers stable where possible. When a photo is renamed or moved, change the corresponding key entry so the visual index still leads to the right image.
As work progresses, add new photos to the appropriate stage or area and decide whether they belong on an existing sheet or a new one. A new sheet can be clearer when inserting images would disrupt an established sequence. Record how it relates to the earlier sheet, then check the entries for the new thumbnails.
Use the index as a starting point
When planning reassembly, begin with the relevant sheet and locate the area or stage you want to revisit. Use the key to open the original overall view, then open related close-ups and different angles. Compare the views in sequence and read any notes you made at the time.
Return to the full-size originals whenever a thumbnail does not show a connection, orientation or other detail clearly enough. If the available views do not answer a question, note that uncertainty and seek an appropriate way to verify it before relying on an assumption. A contact sheet helps you find recorded information; it cannot reveal a detail that was never captured or is hidden in every view.
Periodically test the index by choosing an area and tracing a thumbnail back to its original. This simple review can expose a missing key entry or an outdated location while it is still straightforward to correct. At the end of a work session, check that newly made sheets, keys and originals are stored together and that their sequence remains understandable.