How to Handle Sideways Vehicle Photos in Image Convert
On this page
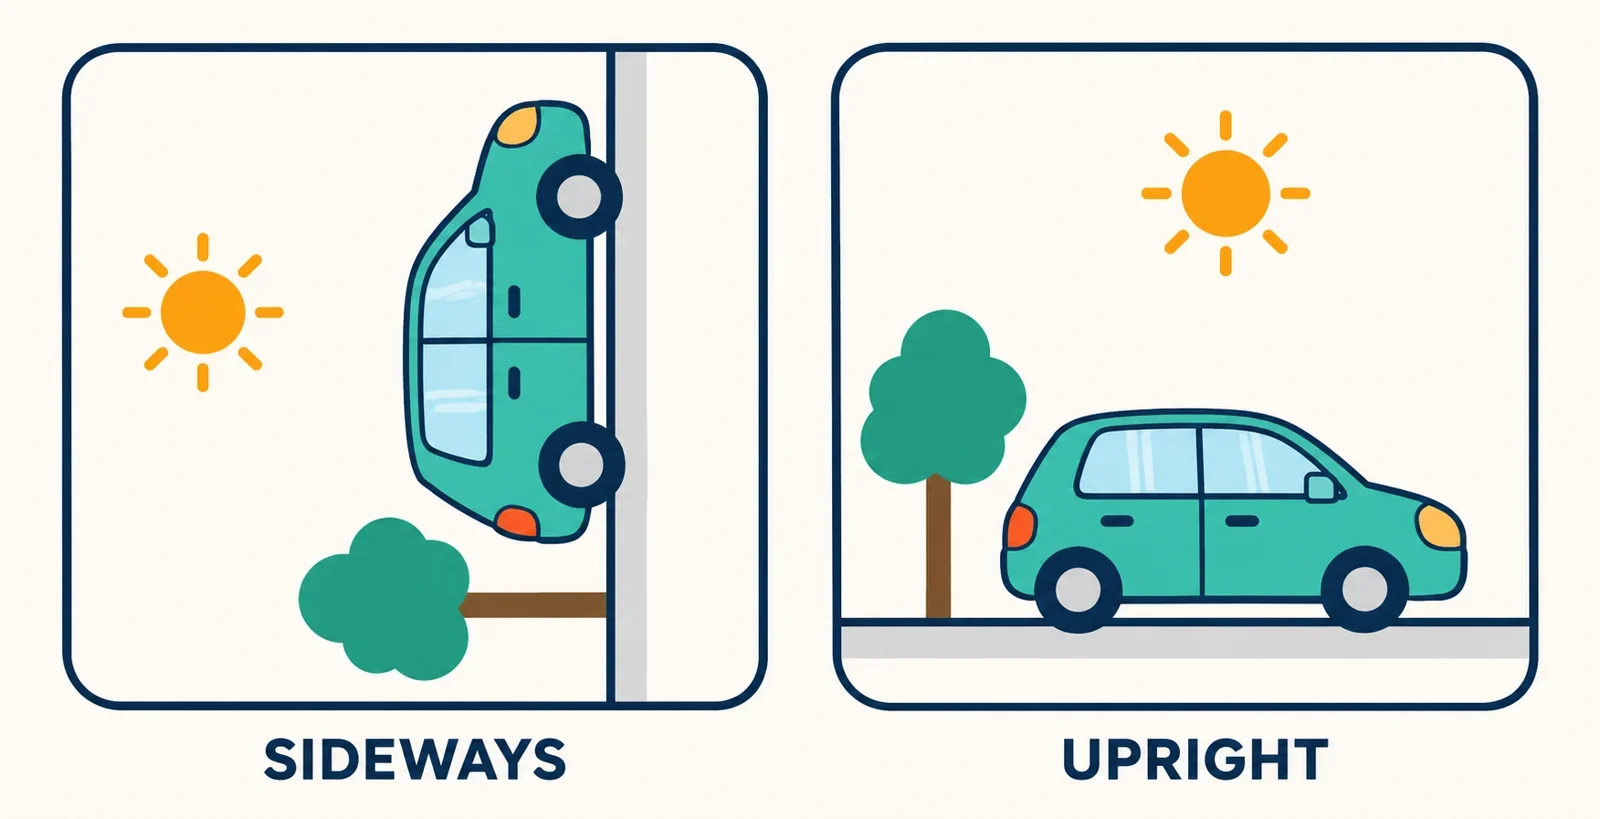
To handle a sideways vehicle photo, check a copy of the original, make a test conversion, and reopen the downloaded result. If the result is still sideways, use an editor with confirmed rotation support to correct a copy, then test the conversion again. Keep the original until the final file looks right in its intended destination.
A phone photo can be stored sideways while carrying an instruction about how it should appear. Software that ignores that instruction can show the photo sideways. That makes an upright preview a useful starting point, but not a guarantee about the converted file. Follow the checks below to decide whether conversion alone gives you the intended view or whether a separate rotation step is needed.
Check how the original vehicle photo appears
Start by making a working copy and setting the original aside. Open the copy in a viewer you already have, then compare it with another viewer if one is available. Record a simple observation: upright in both, sideways in both, or different between them. Do this before editing so you have a clear comparison for later.
Use the photograph’s content to decide what “upright” means for this particular image. Look at readable badges, vehicle lettering, a registration plate if visible, and background details. Consider the composition as a whole: a deliberately angled photograph does not necessarily need to be straightened. Choose the orientation that preserves the intended view rather than assuming every sloping line signals a problem.
For example, if the vehicle lettering and background make sense in one viewer but appear turned in another, note that difference. You have a reason to investigate display behavior, but you have not yet established exactly what Image Convert will do with the file.
Keep a visual checkpoint
Before continuing, identify two or three details you can recognize easily after conversion. These might be a door marking, a visible wheel, and an object near the edge of the frame. Use them as comparison points so the later check covers both orientation and the expected photograph. If the intended direction remains unclear, ask the photographer or person supplying the image before making a correction.
Understand stored orientation and display instructions
Think of two separate things: the photo’s stored pixels and an accompanying instruction about how to display the image. A phone photo can be stored sideways while its metadata tells software to show it upright. Software that ignores that instruction can show the sideways version. This is one possible explanation for a photograph looking different across viewers.
An upright display therefore answers a limited question: this viewer is showing the vehicle in the expected direction. It does not, by itself, tell you whether Image Convert will apply, preserve, or remove orientation information. Avoid treating the preview as proof of any particular conversion behavior.
Use differences as a prompt to check
If two viewers disagree, keep both observations in mind when testing the conversion. If they agree, continue with the same test; agreement before conversion does not replace checking the downloaded result. Neither situation calls for an automatic manual turn before you have seen what happens.
Consult any orientation guidance provided by Image Convert, and look for a documented rotation control if you expect to rotate within the tool. The practical questions are whether orientation instructions are handled during conversion and whether the interface explicitly supports changing the direction. When those details are unclear, inspect the output instead of assuming a feature exists. If a setting mentions orientation, read its explanation before selecting it. Record what you choose so a second test can be compared with the first.
Test a converted copy
Make one controlled test
In Image Convert, follow the displayed instructions to select the local working copy. Choose an output format that the interface or its documentation lists as supported. If the photo is headed for another application or an upload form, first check that destination’s accepted formats and choose a listed option that fits. Avoid guessing a format from a filename alone.
Keep the test simple: use the same source copy and one chosen output format. Run the conversion using the available controls. If the interface offers a preview, compare it with your intended view, then download the generated file for inspection. A preview is a checkpoint; the saved file is the result you need to evaluate.
Compare the result before changing anything
Open the generated file and check the vehicle’s direction against the original observations. Read the same lettering and inspect the same background details. Use this decision table to choose the next step:
| What you observe | Next step |
|---|---|
| Vehicle and scene appear as intended | Continue to the final download checks. |
| Result is sideways | Check for documented rotation support, or prepare a separate editing step. |
| Viewers disagree about the result | Compare the saved file in another available viewer and the intended destination. |
Write down which source copy and output format produced the result. If you later make a correction, this gives you a specific comparison instead of relying on memory. An upright result shows that this test looks correct in the places you checked; it does not establish a general rule about orientation metadata for every photo or format.
Decide whether a separate rotation step is needed
When the converted photo remains sideways, first check whether Image Convert provides a documented rotation control. If it does, follow those instructions and inspect a fresh result. If you need a separate editor, choose one whose instructions confirm that it can rotate and save an image. Work on a copy so you can return to the untouched original.
Check the editor’s starting view
Open the source copy in that editor before choosing a turn. Determine whether the editor already applies the photo’s orientation instruction, using its documentation or available orientation information. Compare what you see with the intended view you established earlier. If it already displays the vehicle correctly, do not add a turn simply because another application showed the photo sideways.
If the editor’s handling is unclear, treat the saved result as a test and reopen it before proceeding. If a manual turn is needed, choose the direction from the actual vehicle and scene details. After the change, inspect the entire frame, including writing and edge details, before saving a separate corrected copy.
Convert the corrected copy
Give the corrected file a distinct name so you can identify it without overwriting the original. Reopen that saved copy and confirm its appearance, then select it for another conversion using your chosen supported output format. Check that you selected the corrected version, especially if several similar files are available. If the new download still differs from the intended view, return to the saved correction and compare the stages individually. Avoid repeatedly rotating files without checking what each saved version actually shows.
Verify the downloaded vehicle photo
Finish by opening the actual downloaded file from its saved location. Do not rely solely on a conversion preview or an editor window left open from an earlier step. Confirm that you are inspecting the latest result, then compare it with the intended view and your original visual checkpoints.
Review the whole photograph
Check these details together:
- The vehicle and scene have the intended orientation.
- Any identifying lettering or markings you expected remain visible and readable where the original allowed.
- The background matches the photograph you meant to process.
- Details near the frame edges are still present as expected.
- The file is the corrected version you intend to use.
If another viewer is available, open the download there as well. Then check the intended destination’s preview, where one is offered. For example, if you are preparing a vehicle photo for an upload form, inspect that form’s preview before completing the upload. If the views disagree, keep the working copies and investigate before replacing your preferred image.
Keep a clear stopping point
You are ready to use the result when the downloaded file shows the intended orientation, its visible vehicle details and background are correct, and the destination’s available preview also looks right. Retain the original until you are satisfied with the saved result. Keep the successful corrected copy and conversion result clearly named so you can select the right file later without repeating the entire process.