How to Make a Contact Sheet for an Auto-Parts Inventory
Contents
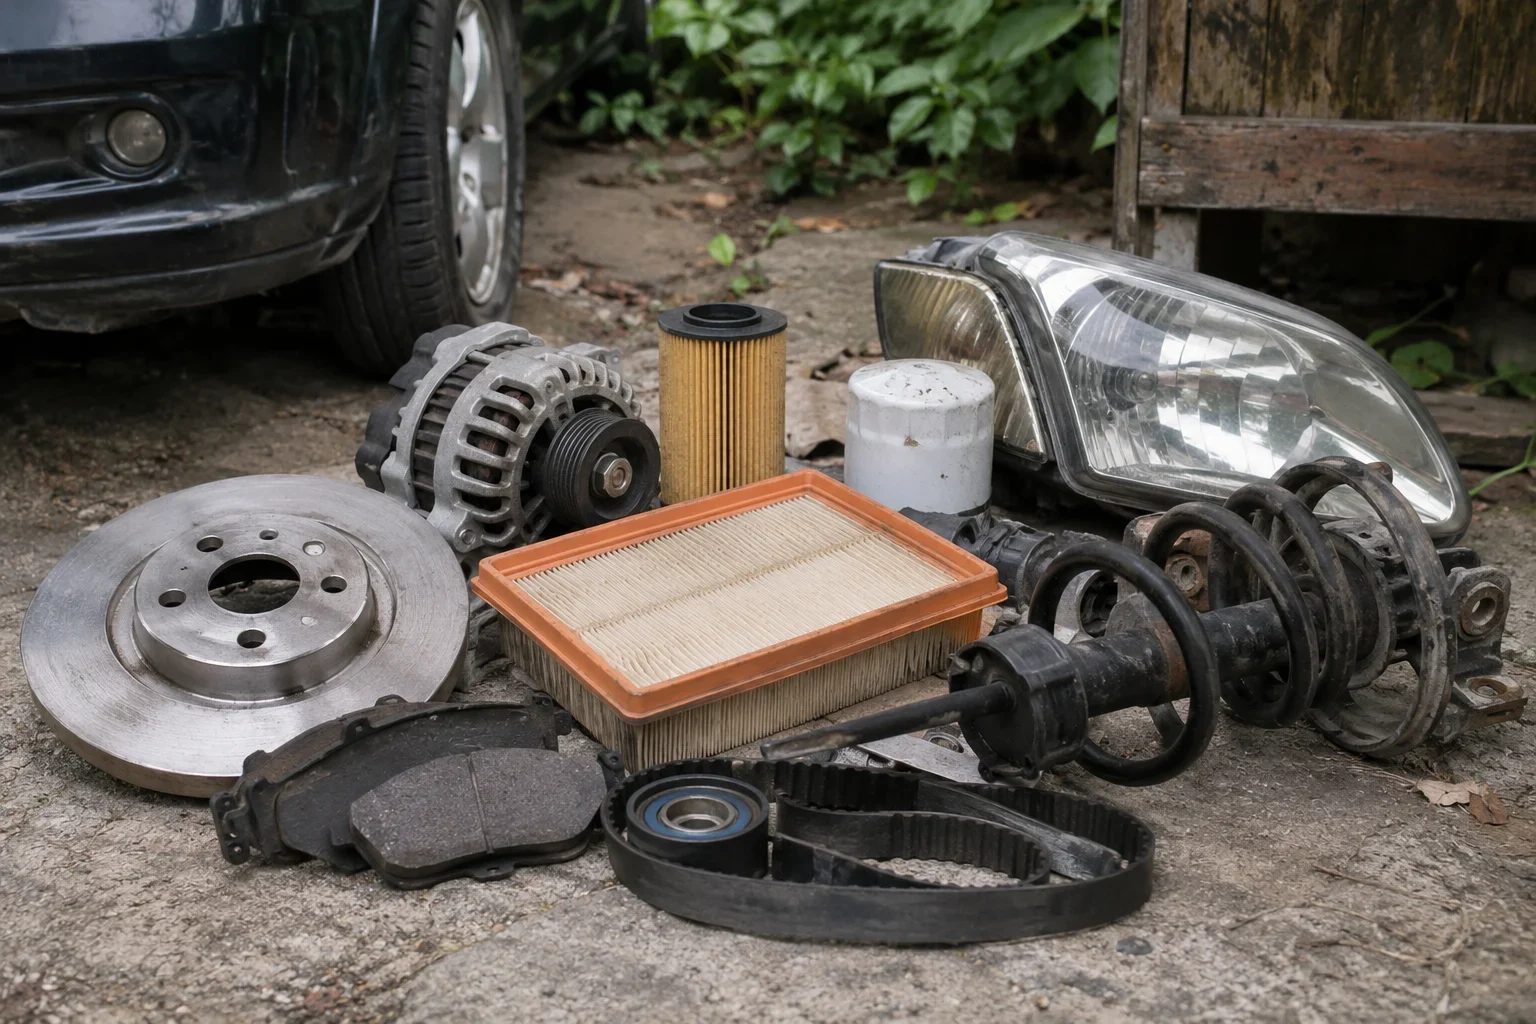
A contact sheet brings several part photos together in one visual reference, making it easier for staff to scan images and find the corresponding inventory records. Start by choosing an inventory identifier for each part, organize its photos in a consistent sequence, and build a sheet with thumbnails large enough to distinguish the items. Then check every image against a separate key before sharing the sheet.
The key is as important as the pictures: a sheet can look orderly while still pointing someone to the wrong record. The workflow below uses sheet positions to make those links explicit and gives you a repeatable way to maintain them as inventory changes.
Choose and organize part photos
Begin with the inventory records you want the sheet to cover. Choose one identifier for each item that staff can use to find its current record. If a record contains several numbers, agree on which one the key will use and record it consistently. Ask whoever maintains the inventory to resolve duplicate or uncertain identifiers before you rely on the sheet.
Choose an overall photo that helps a reader recognize each part. Add detail views when they help distinguish it from a similar item or show a feature relevant to the record. Avoid selecting several near-identical images simply because they are available; every additional view takes space that could make the thumbnails smaller.
Keep related views together
Put the overall view first, followed immediately by the detail views for the same part. Apply that order to every group. For example, a group might contain an overall view, a close-up of a marking, and a view of a connection point. Which details matter will depend on the items and the information staff need to check.
Before assembling the sheet, make a working list that pairs each chosen photo with its inventory identifier and view description. A consistent filename can help you organize the files, but the filename alone should not be your only record of the relationship. Check that the identifier in the list belongs to the item actually shown, especially when similar parts were photographed together.
For a larger inventory, divide the work into manageable batches, such as groups based on how your team already organizes records. Give each batch a distinct sheet identifier and keep a list of which records it covers. Avoid splitting the views of one part across sheets when practical. If a split is necessary, note the other sheet and position in both keys so staff can find the complete set.
Build and review the sheet
Open the contact-sheet tool and select the photos for one batch. Check the tool’s available options before relying on a particular input format, ordering method, or output format. Use the working list to select and arrange the images in the intended sequence. If the tool allows you to reorder them, confirm the sequence before generating the sheet; if it does not, check how it determines the order and adjust your preparation accordingly.
Choose the number of columns and the thumbnail size using the options available. More columns may fit more images into a given space, while fewer columns may leave more room for each image. The right balance is the one that lets your team distinguish the parts and the details they need. If the images become too small, divide the batch into additional sheets or remove redundant views rather than expecting readers to identify a part from an unclear thumbnail.
Generate the sheet, then inspect the actual output. Check it at the size staff will normally use, whether that means viewing it on a screen or printing it. Look for images that are too small, cropped in a way that hides a useful feature, or difficult to distinguish from neighboring parts. Return to the source photos or layout settings and regenerate the sheet if a clearer result is needed.
Check the sequence
Compare the generated sheet with the working list from the first thumbnail through the last. Confirm that every selected image appears once, each group remains together, and the overall view precedes its details. Pay particular attention to similar-looking items and to the points where one group ends and the next begins.
If your team expects to print the result, make a test copy using its usual setup and verify that the thumbnails and any key are readable. Record the final sheet identifier and version with the working list. Create the position key from the reviewed output, since the final order is what staff will actually see.
Match images to inventory identifiers
A separate key can connect each thumbnail position to an inventory identifier without depending on text being embedded in the contact sheet. Give the sheet a unique name or identifier, then describe positions consistently. For a grid, one practical approach is to number rows from top to bottom and columns from left to right. Write those directions on the key so every reader counts in the same way.
Use one key entry per thumbnail, including separate entries for multiple views of the same item. A small example shows the relationship:
| Sheet position | Inventory identifier | View |
|---|---|---|
| Row 1, column 1 | PART-014 | Overall |
| Row 1, column 2 | PART-014 | Detail |
| Row 1, column 3 | PART-027 | Overall |
These identifiers are examples; substitute the identifiers used in your own records. Include the sheet identifier and version on both the sheet and its key where your workflow permits. If they cannot be placed on the sheet itself, keep the two together and use a clear naming convention for the saved files or printed copies.
Verify every position
Compare the key with the final sheet one position at a time. For each thumbnail, check the photo against the working list and then check the listed identifier against the inventory record. Do not assume that adjacent views belong to the same part merely because they look similar. If possible, have a second person make the comparison independently, especially for a sheet with many similar items.
Also test the key in the direction staff will use it: pick a thumbnail, find its key entry, and use the identifier to locate the intended record. Then pick a record and find its photo or photos on the sheet. Correct any mismatch and repeat the affected checks before distributing the pair.
Clear labels can also help, but confirm whether your chosen tool can add identifiers directly to images or to the sheet. If that option is unavailable or uncertain, prepare labels separately using a method your team can verify, or use the position key. After adding any labels, check that they remain readable and do not cover distinguishing details.
Keep the sheet aligned with stock
Treat the contact sheet and key as a matched reference that needs review whenever the records or photos change. Decide who is responsible for updates, where the current pair is kept, and how staff should recognize its version. A date or version number can distinguish one approved pair from another, provided it is applied consistently to both.
When a part is added, assign or confirm its inventory identifier, select its photos, and add the images to the appropriate batch. Generate or revise the sheet using the available workflow, then update the key to match the final positions. Check the new entry against the inventory record and review any other positions that moved.
When a part is sold or otherwise leaves the inventory, follow your team’s recordkeeping practice for its status. If the sheet is intended to show current stock only, remove the relevant views and their key entries when you update it. If staff need to retain a visual record of unavailable items, make that status clear in the key and agree on how it will be maintained. In either case, do not leave a reader to assume that a pictured part is available.
When an identifier, description, or photo is corrected, trace the change through the inventory record, working list, sheet, and key. A replacement photo may need a new sheet even when the identifier stays the same. If an item moves to a different record, verify the new association rather than simply copying the old key entry.
Review and replace copies together
After any change, compare the updated sheet and key position by position wherever the layout may have shifted. A removed photo can change the positions of many later thumbnails, so checking only the edited item is not enough. Confirm that the sheet identifier, version, batch coverage, and inventory links agree before sharing the updated pair.
Replace outdated copies in the places staff use and make the current pair easy to find. If older copies must be retained, mark or store them so they cannot be mistaken for the current reference. Periodically compare each batch’s key with the inventory records, even when no recent change is known: look for missing items, changed identifiers, incorrect status, and photos that no longer help staff identify the part. Log corrections in your normal working process and repeat the review after the revised sheet is ready.