How to Compare Similar Auto Parts with a Contact Sheet
In this guide
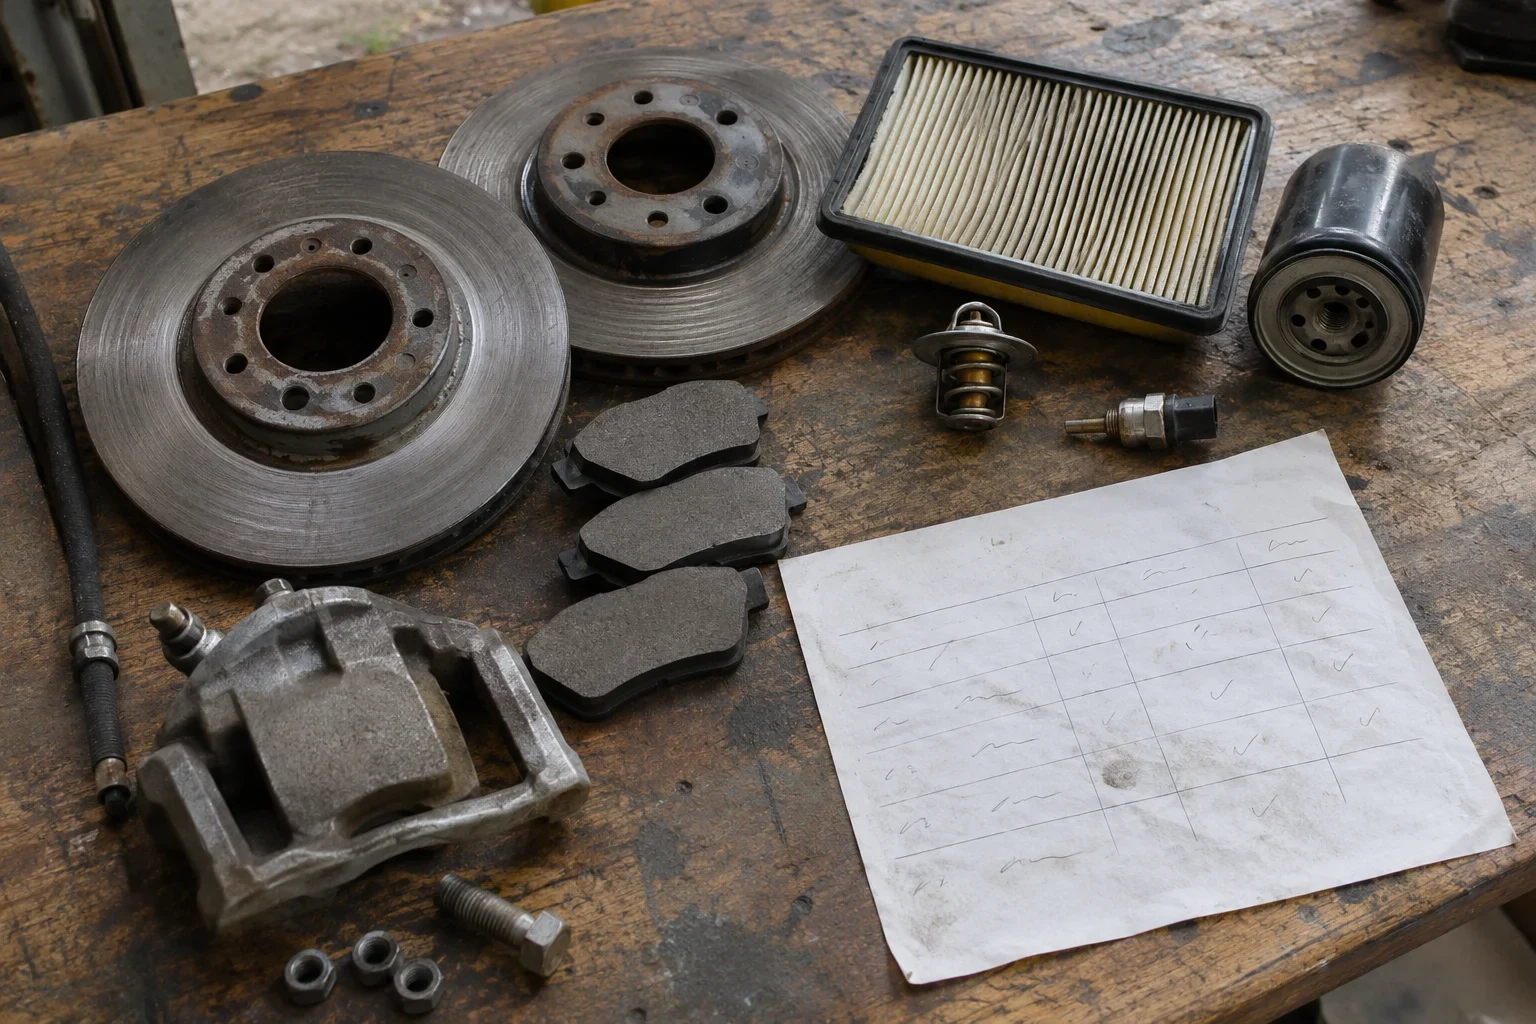
Compare similar auto parts by giving each part an identifier, photographing corresponding views, and arranging those images together. Use the resulting contact sheet to record visible differences; establish compatibility separately through part numbers, measurements and manufacturer specifications.
Start with the original part and a manageable set of candidates. Build the comparison around a specific question, such as whether a candidate has the same visible connector arrangement or mounting layout. A useful result includes the photo sheet, a reference key and a short list of checks still needed before choosing a replacement.
Define what you need to compare
Write down what the replacement must match before choosing photographs. Record the original part’s readable identifiers, the intended application and any requirements you already know. Copy markings exactly, keeping uncertain characters visibly unresolved instead of guessing.
Give every candidate its own entry. Keep three things distinct: what the photograph shows, what a listing claims and what you have confirmed independently. For example, “two mounting features visible” is an observation; “fits my application” requires further checking.
Use a brief comparison checklist:
- Overall outline and visible proportions.
- Connector arrangement and orientation.
- Mounting features and their locations.
- Readable words, codes and other markings.
- Dimensions or specifications that still need verification.
Choose the views that would help answer those questions. Manufacturers may reuse colors and housings across versions, so resemblance alone should not settle the choice. If an identifier is absent or unreadable, record that as an open task. Keep the original part as the reference throughout the comparison, even when a candidate initially looks convincing.
Prepare matching viewpoints and detail photos
Photograph the whole original part first, then repeat the same views for each candidate. Keep corresponding parts facing the same direction and use a consistent framing approach. Aim for a sharp, well-lit image in which the part occupies a meaningful share of the frame.
Remove surrounding distractions while keeping the complete outline visible. Do not crop away a projection, connector or mounting feature simply to make the image look tidier. Leave enough space around the part to inspect its boundaries.
Add corresponding detail photographs where small features would disappear in a thumbnail:
- A connector view that makes its visible arrangement easy to inspect.
- A view of each mounting area relevant to your question.
- A close-up of readable labels or stamped markings.
Different viewpoints can reveal construction details hidden in another image. If one candidate needs an extra view, try to obtain that view for the original and other candidates too. Check sharpness before arranging the sheet. Use similar framing to aid inspection, but never treat matching photo sizes as proof that the physical parts have matching dimensions.
Label candidates and plan the sequence
Use short identifiers such as R for the original, A for the first candidate and B for the second. Pair each identifier with a viewpoint label: R–front, A–front and B–front, for example. Choose descriptive labels you can apply consistently; “connector side” may be more useful than an ambiguous “side.”
Plan a repeated sequence before adding images. One possible arrangement is:
| View | Original R | Candidate A | Candidate B |
|---|---|---|---|
| Whole part | R–whole | A–whole | B–whole |
| Connector | R–connector | A–connector | B–connector |
| Markings | R–markings | A–markings | B–markings |
Treat this as a layout plan, then check whether your chosen settings produce it. Do not assume a file’s name will appear beneath its thumbnail. If labels are not visible within the photos, keep a separate key that identifies every position. Mark a missing view explicitly in that key so an empty position cannot be mistaken for a different candidate. Keep the same identifiers in your measurement notes and specification checks.
Choose contact-sheet settings
Choose the images needed for your planned comparison, checking that each belongs to the correct candidate and view. Leave out unrelated photographs and near-duplicates that add no useful detail. Keep originals available while using working copies for any adjustments.
If column and thumbnail-size controls are available, choose them together. For a comparison of the original plus two candidates, a three-column arrangement may be useful if the image sequence places corresponding views beside one another. Confirm the resulting order rather than assuming how the interface fills the sheet.
Set thumbnail size according to the smallest feature you need to inspect. Start with whole-part images, then check whether connectors and markings remain readable. If they do not, use separate close-ups or divide the comparison into smaller sheets instead of crowding everything into one layout.
Use a simple decision rule: choose the arrangement that lets you identify the part, identify the view and inspect the relevant feature without repeatedly consulting distant images. Where a preview is available, inspect it before exporting; otherwise, use the downloaded result to decide what needs adjustment.
Review the exported comparison
Open the downloaded sheet and follow the reference key from the first image to the last. Confirm that the intended sequence survived, each candidate has the expected views and every whole-part image preserves the complete outline. Check that labels and decisive details are readable at a useful viewing size.
Record observations neutrally. “Connector appears on the opposite side in these photographs” is more useful than immediately declaring a mismatch. First check whether the parts were photographed from corresponding viewpoints. Likewise, a part looking larger on the sheet calls for a measurement, not a size conclusion.
A compact review log can keep the next step clear:
| Observation | Next check |
|---|---|
| Outline appears different | Compare matching orientations and measure relevant dimensions |
| Marking is unclear | Inspect the original photo or obtain a sharper close-up |
| Mounting position appears different | Obtain a comparable view and check dimensions |
Separate each observation from its interpretation. Record the candidate identifier and viewpoint beside it so you can return to the exact image. If a feature remains hidden, label it “not visible”; do not treat its absence from a photograph as proof that the feature is absent.
Check part numbers and specifications separately
Use the sheet to decide which questions to investigate next. Search readable label words or codes as text, retaining the exact characters you can confirm. Keep uncertain transcriptions separate so a guessed character does not quietly become an accepted identifier.
Seek manufacturer documentation for the intended application. Compare the original and candidate identifiers with the relevant information, and check written seller specifications against the photographs. If the description and image disagree, ask for clarification before relying on either.
For physical dimensions, record the units and the exact points being measured. Apply the same measurement approach to the original and each candidate. A photograph can help you choose what to measure, but apparent scale should not replace those measurements.
What if two candidates look identical?
Keep compatibility unresolved until the required identifiers, dimensions and specifications support the intended application. Similar colors, housings or visible connectors do not supply all of that information. Ask for a readable part-number photograph, a missing measurement or the relevant manufacturer specification, depending on the unresolved question.
Finish with a written status for each candidate: checks completed, discrepancies found and information still required. Prioritize compatibility information over general visual resemblance when making the replacement decision.
Improve unclear photos or resolve processing problems
Return to the individual photos whenever the sheet leaves a question unanswered. Replace blurry images, correct an inconsistent viewpoint or add a close-up that shows the specific feature under discussion. Retain the originals so you can inspect details beyond the sheet.
If processing fails, first recheck the interface’s displayed input requirements and any error message. Try a smaller selection to isolate a troublesome image. Where file size appears to be the issue, consider reducing a working copy’s dimensions, then confirm that markings and small features remain readable.
Consider format conversion only when the selected format does not meet the stated input requirements. Keep the original and inspect the converted copy before using it. Conversion should not be treated as a way to recover detail missing from the photograph.
After any change, generate and review the comparison again. Confirm the sequence, outlines, labels and detail visibility, then update the reference key if positions changed. Stop when the sheet supports clear observations and your remaining compatibility questions are recorded for separate verification.